Features
Added support for registration custom fields using ACF
To create custom fields for the user registration page, follow these steps:
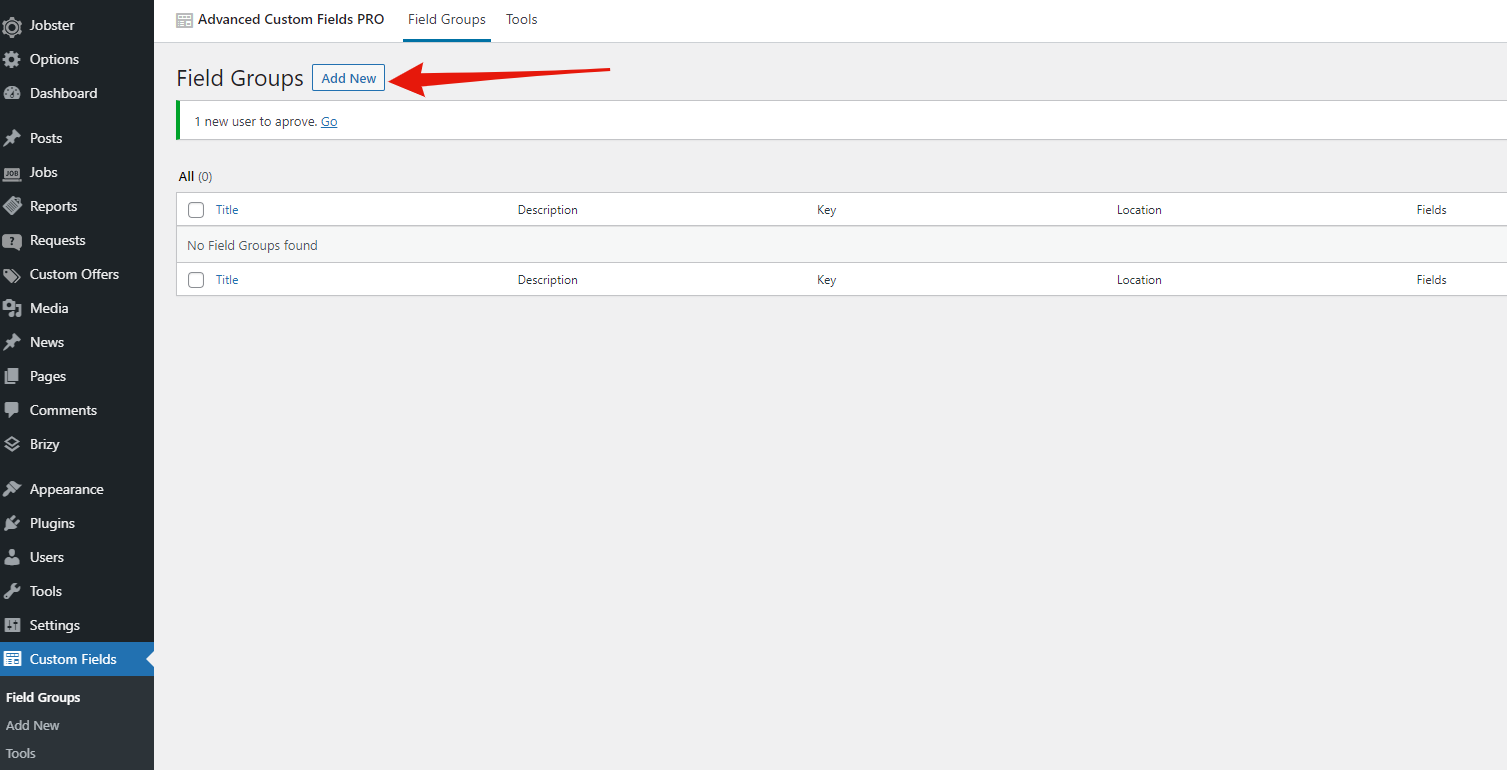
1. Go to Dashboard > Custom Fields > Click the ‘Add New‘ button
2. Fill the title field with any string (this will be displayed on the user’s edit page in the administration panel)
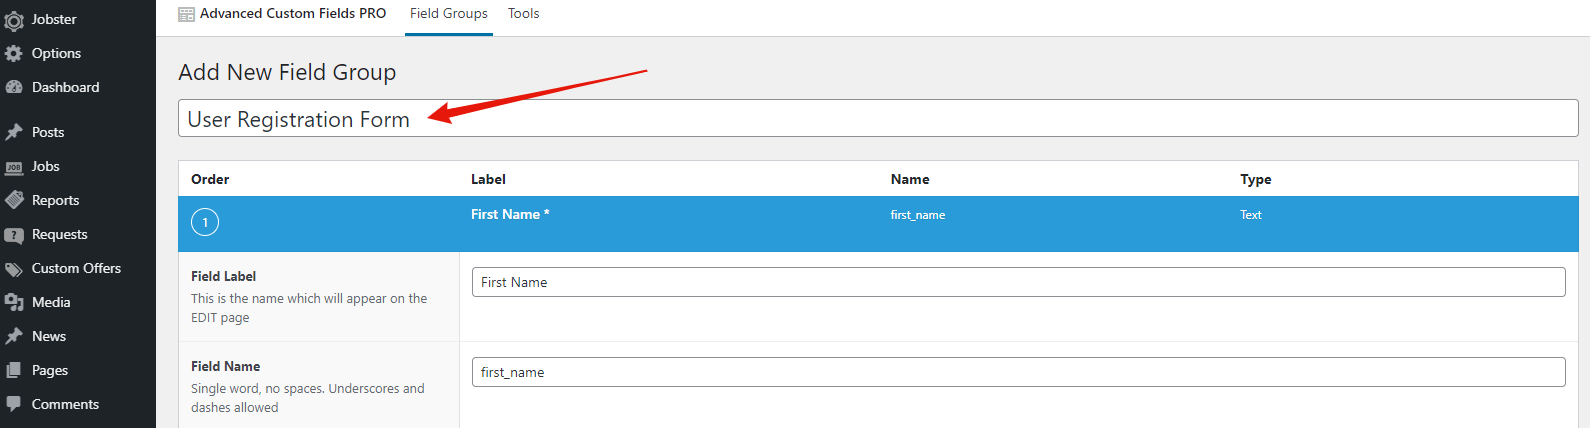
3. Click the ‘Add Field‘ button

4. Complete the fields with your custom field information

5. Go bottom to Location > Rules > Select ‘User Form‘ for the first field, ‘is equal to‘ for the second field and ‘All‘ for the third field.

6. Click ‘Publish‘ button

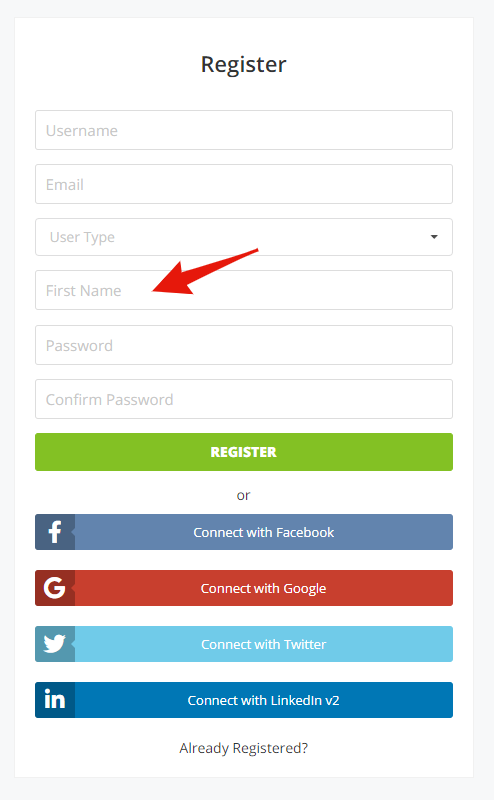
Now, if you go to the registration page, you can see the field you created.
Repeat steps 3, 4 and 6 for each field you want to add.

Now, if you want to change the value of the field in the admin panel, you can go to the Users menu, click Edit next to the user whose value you want to change and at the bottom of the page, you will find the fields you added in the section with the name you entered in step 2.
To display a user’s field value, use the following shortcode: [user_field field=field_name]. Replace the field_name with the value displayed for your field in step 4 (Field name value).

Example:
* inside the pages in the admin panel: [user_field field=age]
* inside the child theme code: echo do_shortcode( ‘[user_field field=age]’ );
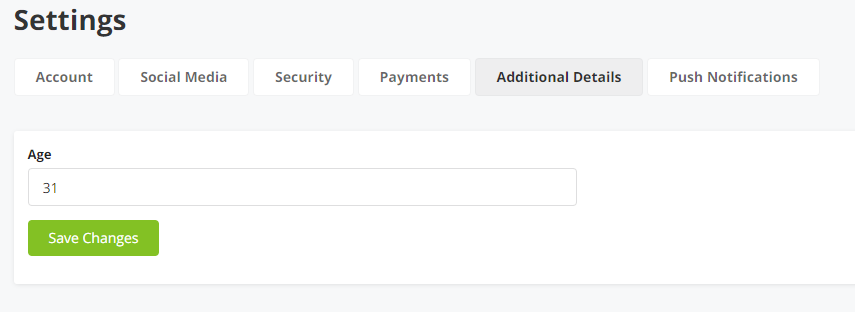
To add these fields to the User Settings page and allow the user to change their values after registering the account, follow these steps:
- Go to Dashboard (Admin panel) > Pages > User Profile > Edit
- Click ‘Add row’ in the section where you want the added field to be displayed
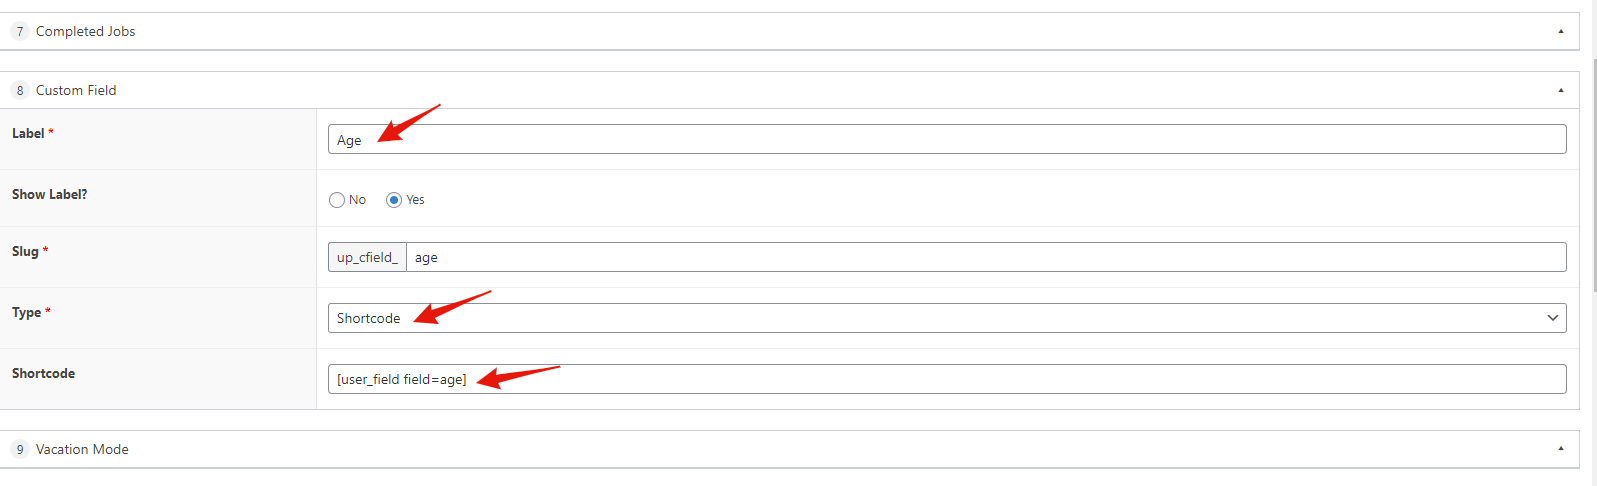
- Select ‘Custom field’
- Fill in the ‘Label’ field, select ‘Shortcode’ for the ‘Type’ field and insert your shortcode in the ‘Shortcode’ field. For example: [user_field field=age]
User profile page
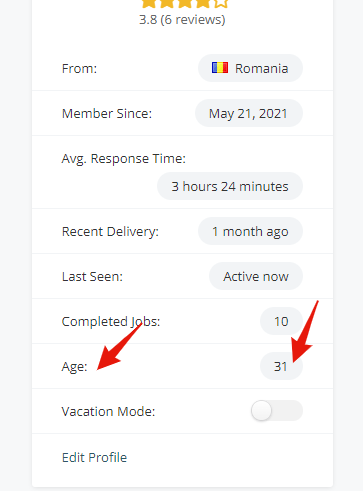
User Settings page
Added support for admin menu restriction by user role
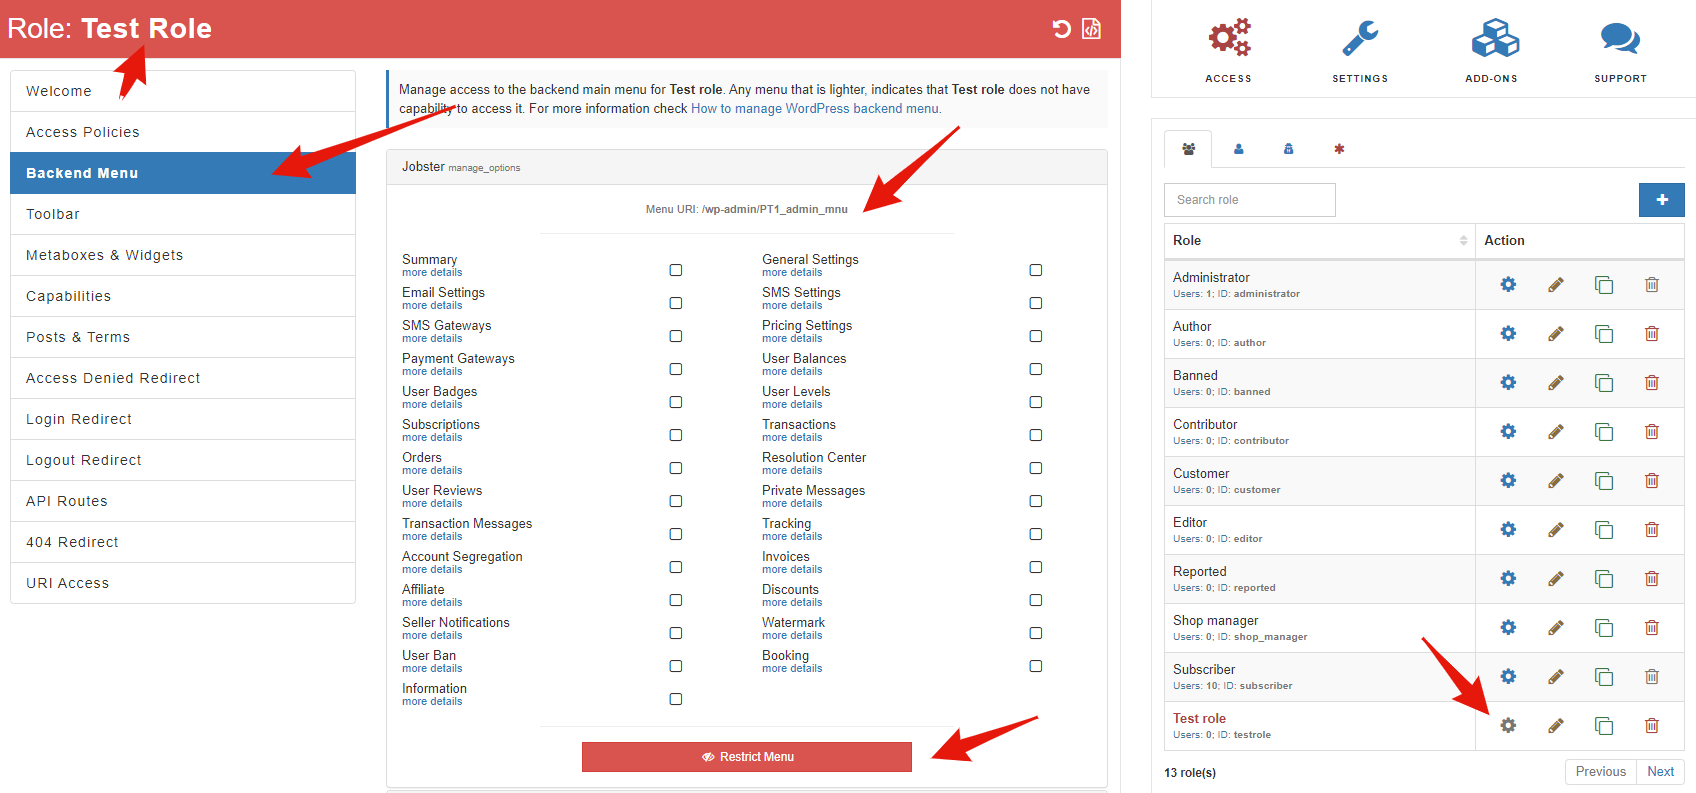
A new plugin has been added that is compatible with the WPJobster theme and that allows you to restrict access to different menus in the theme, depending on the role of the user in order to create a team for your site, with specific attributions. You can find the documentation and support of the plugin at the following address: https://aamplugin.com/support
Improvements
Updated WordPress Social Login to 3.0.8 version
To update the plugin, go to Dashboard > Plugins > Required Plugins > WordPress Social Login > Update.
AJAX private message conversations (no page refresh)
Starting with 5.8.3, in order to change the conversation in the private messages page, it is no longer necessary to reload the page, the transition is done in a smooth way.
Bugfixes
- Fixed email sending for autodraft requests
- Fixed order page messages
- Fixed approve when default type is seller – update Account Segregation Plugin to 2.2.3 version