This tutorial will explain how to create an Amazon S3 account, as well as setup procedure in order to be able to store and serve all of the files and media from Amazon S3 bucket, instead of the server where your Jobster installation is hosted.
Step 1: Create an Amazon S3 account
To be able to use Amazon S3 services, first you need to sign up for an account: https://aws.amazon.com/
Step 2: Create a bucket as well as a user with appropriate permissions to access and upload files to the newly created bucket
Step 3: Install the required Amazon Web Services plugin using the Word Press’ built-in installer
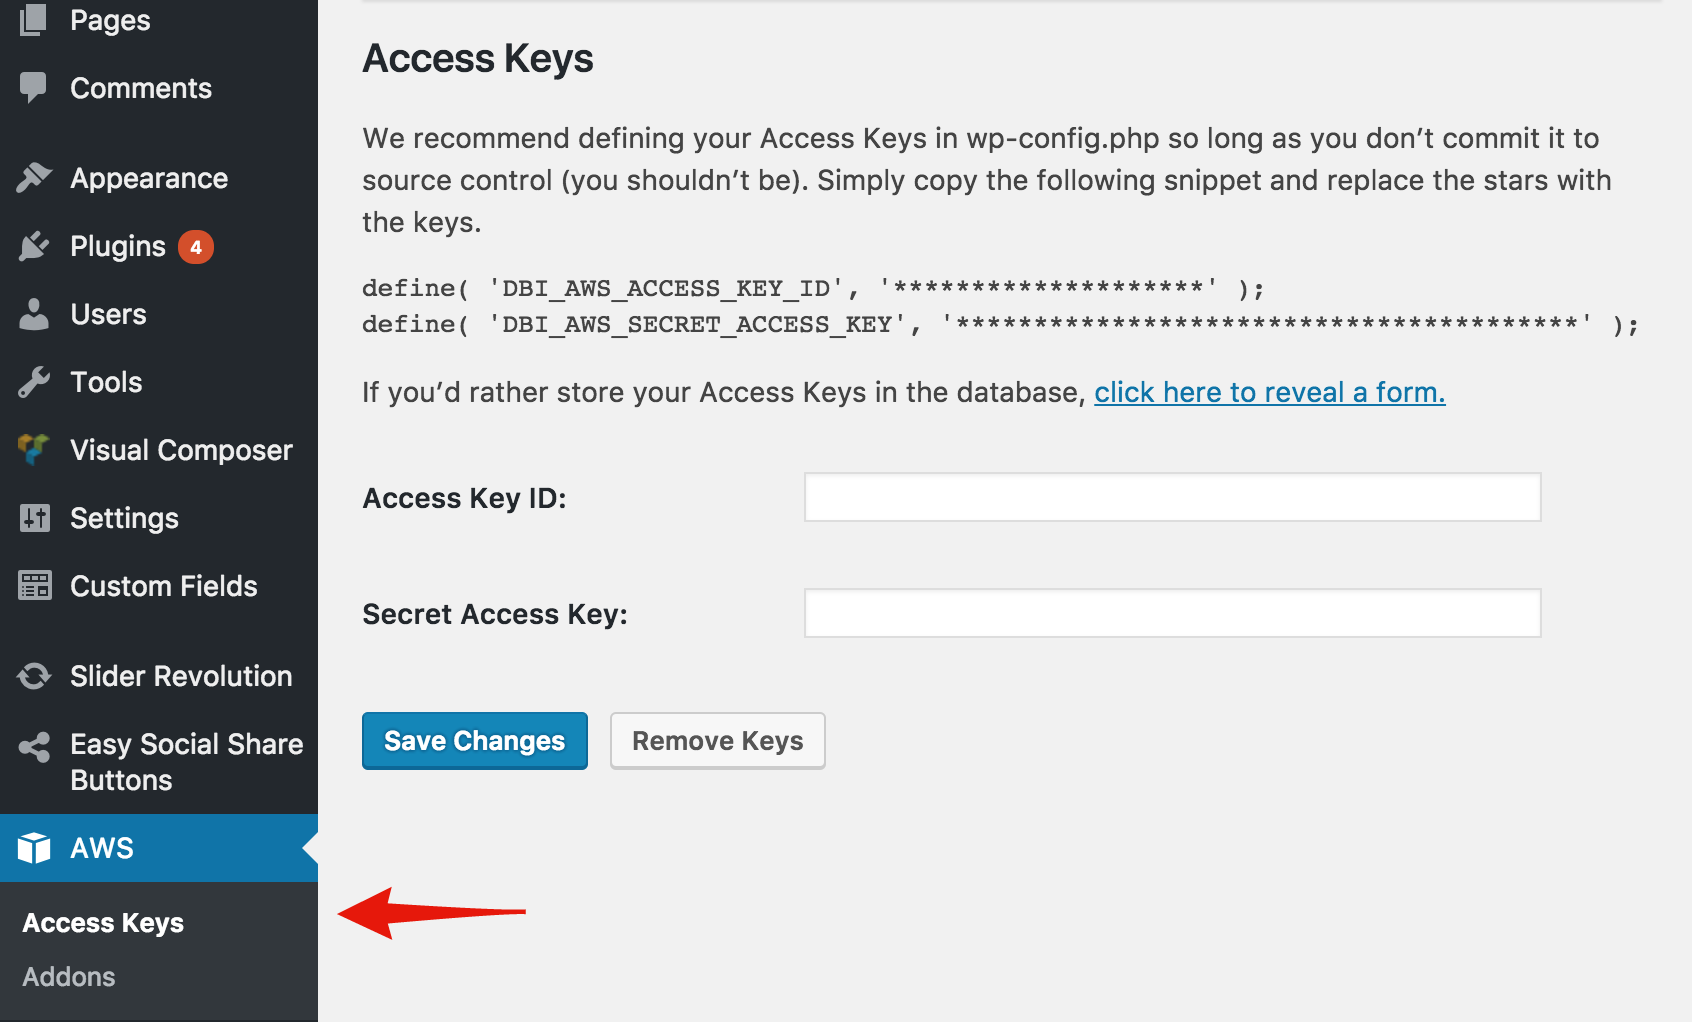
Step 4: Insert security credentials (access keys)
After successful Installation go to: Admin > AWS > Access Keys. Follow the instructions to setup your AWS access keys generated at the time of user creation
Step 5: Install WP Offload S3 Lite plugin using the WordPress built-in installer
1. Access the S3 and CloudFront option under AWS in order to configure it by following the on-page explanation and setup instructions.
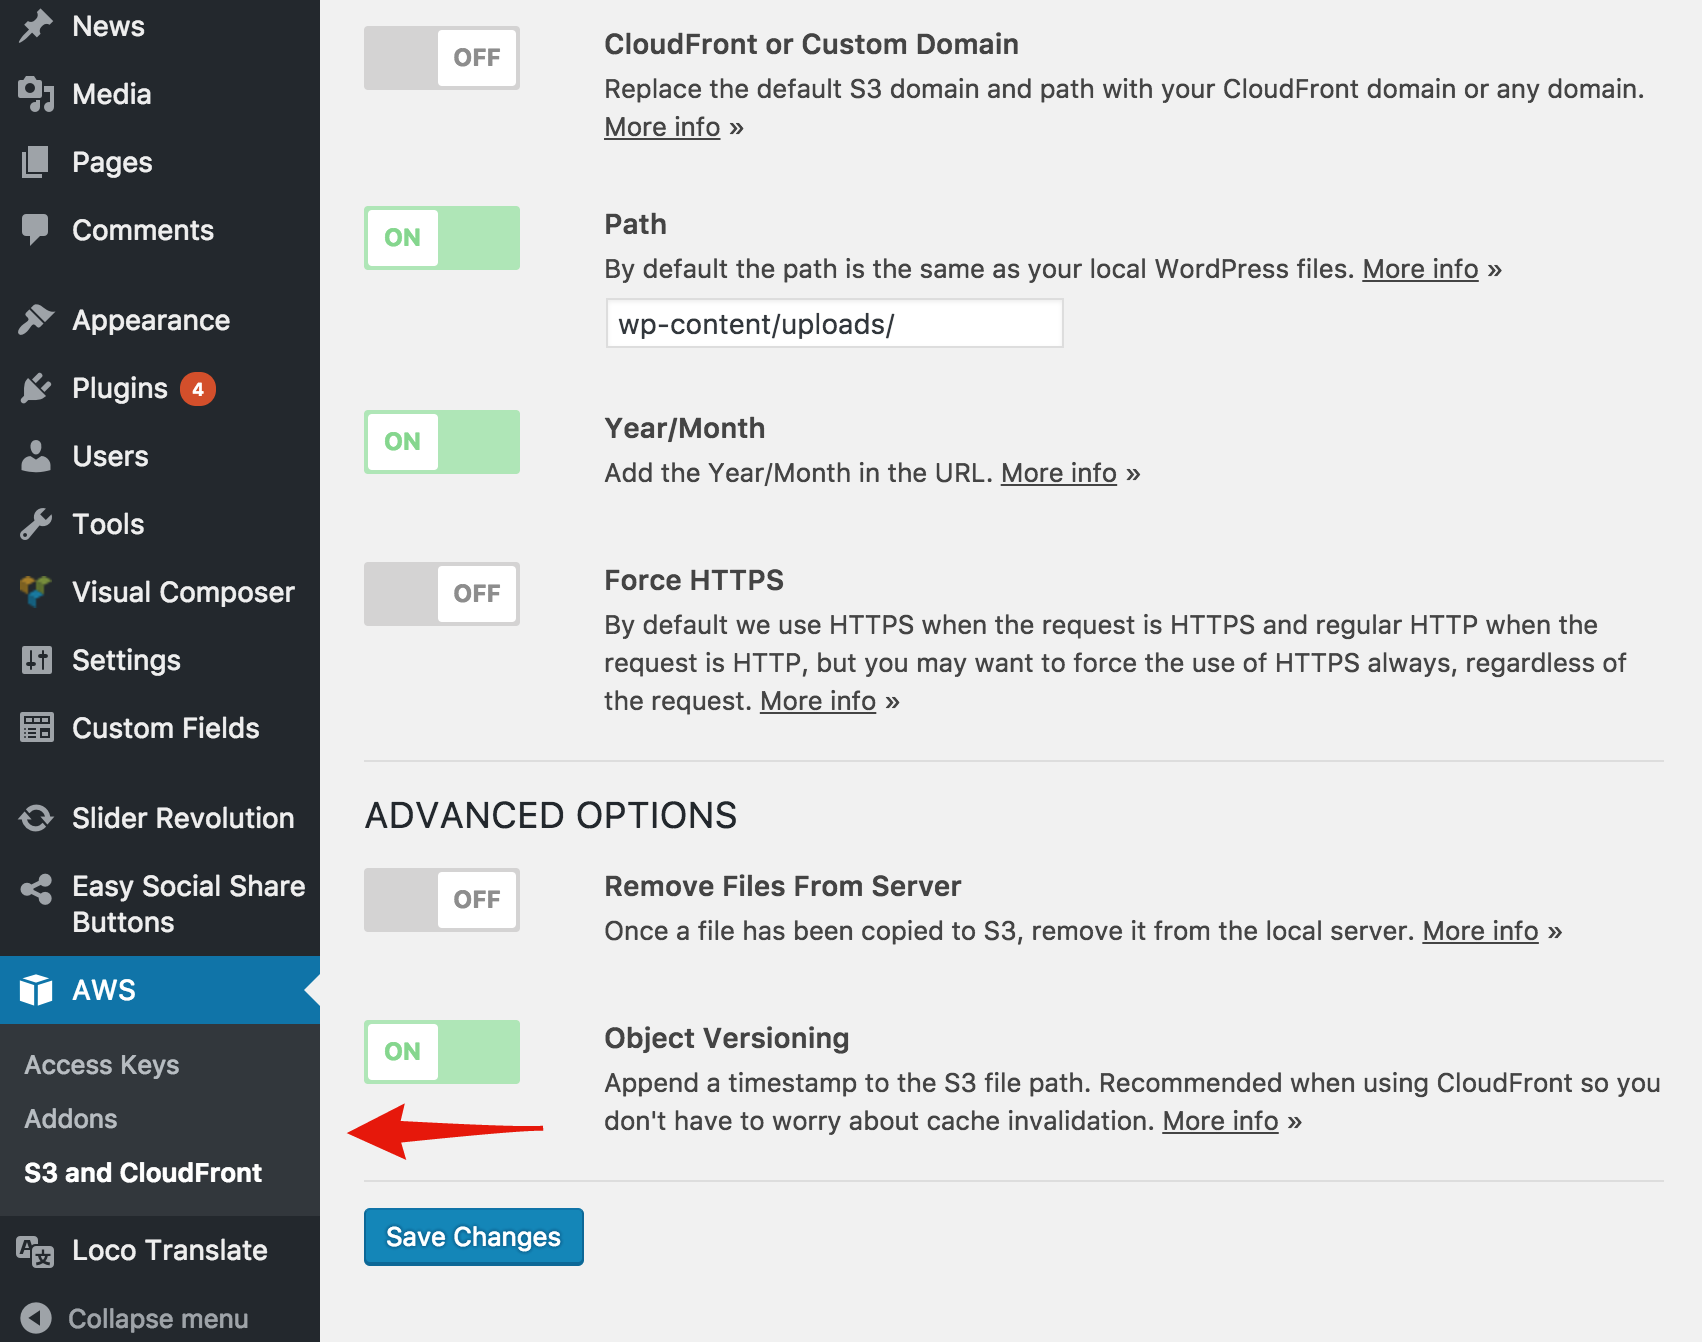
2. This plugin automatically copies images, videos, documents, and any other media added through WordPress media uploader to Amazon S3. It then automatically replaces the URL to each media file with their respective Amazon S3 URL
Note: Uploading files directly to your Amazon S3 account is not currently supported by this Lite version of the plugin. They are uploaded to your server first, then copied to Amazon S3. You can check out the premium versions for additional advanced features.
Be sure to read original plugin documentation as well.